 |
Session Logs |
|
33: She's one of them now!
|
Introduction
After last week, a much more positive feeling from this week’s
session. Given the ‘reveal’ I had sort of expected it, and Matt’s
exuberant speculation was as ever highly amusing. How much of it may or
may not be correct you’ll have to wait to find out.
Last session’s introduction covered Transfer Transit, and travelling
by clone in some detail. This week I want to cover GA presence on
Stations, and this is not only orbital stations, but also planetary
space ports (if the planet actually has one. Very small colonies
typically don’t. some of the larger ones do, and whilst you can
theoretically land anywhere, if the planet has a spaceport, they
typically request visitors land at the spaceport) .
The closer you are to the ‘Core’ worlds the higher the GA presence is likely to be, primarily because the stations tend to be much larger, and much more populated. Out on the ‘Rim’ where you’re currently spending most of your time, there are far more Independents, and a fair proportion of these don’t welcome a GA presence. On stations where there is a GA presence the presence can vary, and typically this is proportional to the size of the station. On small stations with a minimal GA office there are typically 2 GA officers, who typically work 8.5 to 9 hour shifts with the ‘office’ typically being closed between 01:00 and 03:30. As the station size increases then the office size typically increases. The next size up is 5 GA officers each typically working 8 hour shifts, which means typically 2 officers ‘active’ during peak periods. The third class of small to medium office, which is actually the size of the office on Yaph-11, where you kidnapped Talbor, typically has 11 GA officers.
Just because there is a GA office it doesn’t mean there is a GA Dock and/or a GA ship around, and typically Station security and docking access is run by the Station Staff (Security Team, Docks Management, Port Authority). This generally means that by appropriate payments people can be persuaded to look the other way. This does not mean there are not risks, there are always people around to may be looking to collect rewards for turning you in, and the more time you spend in the ‘station internals’ shopping and/or carousing the more likely is you’re going to be spotted. Generally, just being docked for refuelling purposes and bulk resupply purposes and sticking to the cargo docks is low risk.
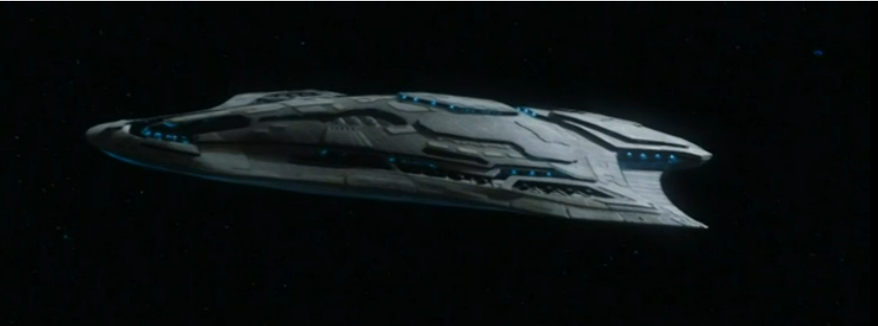
One other element which came up again is the Razza's armament. The
Razza has 2 heavy railguns, 4 heavy pulse cannons, 3 heavy turrets, 2
light turrets, 12 exterior laser sentry guns, 2off 36 tube dorsal
mortars (chaff), 2off dorsal Pulse discharge arrays, 2 off six tube
dorsal long range missle launchers, and 2 off 12 tube dorsal short
range(anti-shuttle, anti-missile, anti-fighter) launchers.
The heavy railguns (fixed forward firing) typically fire a heavy
flechette round and have an effective range of about 500m (they tend to
miss everything but the slowest moving ships at ranges greater than
this). Shields have virtually no effect against Rail Guns projectiles!
Railguns are designed to kill and destroy ships at close range by
punching straight through the shields and shredding the internals of
the ship. They are typically are only fitted to fast Military ships
where you don't care about boarding and/or salvage. The 4 heavy pulse
cannons are again fixed forward firing and an effective range of about
1.65km.
The three heavy turrets, 2 dorsal and 1 ventral, are twin heavy
pulse cannons, again with and effective range of approx 1.65km. The
forwar dorsal turrent has a full 360o Hemispheriacal firing
arc but can fire down at a maximum declination of 30o in a 30o
forward arc The rear dorsal turret has a hemi-spherical firing
are of 270o but can only fire in the remainder of the
forward are at an inclindation of 30o. The light turrets,
one dorsally mounted above the air lock (again a 270o aft
firing arc), and one ventrally (the firing arcs of this are complex
because of where it is mounted. It can fire pariatlly forward but only
at 45o down) mounted under the stern shuttle bay, above the
rear cargo access, are quad laser turrets and are primarily an
anti-fighter/anti-shuttle weapons with an effective range of approx
450m. The 12 exterior laser sentry guns are primarly close range
(100m approx) anti-personel/anti-fighter/anti-shuttle weapons.
The chaff mortars typically fire chaff rounds in 24, 30, or 36 round bursts, typically mixing passive and active chaff (typically 1 active decoy round per 6 passive rounds, so 3, 4, or 5 active rounds). The pulse discharge arrays are a somewhat unusual weapon. They are very short range weapons, 100m approx effective range, that are designed to takedown shields. It was one of these in combination with the two dorsal pulse cannon turrents that Lisa used to take the weapons array of Aleisha Reynards Cruiser off line, to allow the Marauder to dock and the Razza to then jump to FTL.
Technically the Razza has almost the same fire power as a Destroyer,
somewhat better mauverabiltity, and far greater cargo and transport
capacity (typically destroyers only have a single shuttle bay, although
they tend to carry larger more heavily armoured shuttles).
One last point, if you're wondering about the session title for this
week, its a comment Aleisha Reynard makes about Emily Kolburn (and yes
this is a deliberate use of her full name) after she kills the the
clones of Boone and Ryo.
She's one of them now!
We pickup this week with the Razza docked in bay S5B of the Minature Pincher Asteroid station in the Draaddell outer asteroid belt (The system has 2 gas giants and 2 asteroid belts plus 3 asteroid fields). The interior docking back is approximately 1100m in radius and had 5 docking bay levels, a docking bay being approximately 200m in length. Levels 1 and 5 have 9 bays each, levels 2 and 4 11 bays each and level 3 14 bays. In addition the station has 3 repair docks and 1 ship contruction dock. Unlike most stations which charge a base fee with an additional per day fee the station just charges a single base docking fee, although this is twice what you'd pay at any other station. There are also no additional expenses in the form of bribes and payoffs to dock here.
With the Razza docked then a 'Technical Manager' and 'Installation Engineer' will come aboard to asses the work required to fit out the desingated room for the Transfer Transit pods and to install them. The crew also ask at this juncture about repairs to the shields and power junctions. Based on the data provided by Lisa, repairs will take an additional day and cost cr371,000. When asked about other supplies, the station can supply fuel at cr0.90 /l and water at cr0.51/l (much cheaper than the prices you've been paying elsewhere). The crew opt to fill both the water and fuel tanks.
[GM Note: In the same way you completely forgot you had the ISO Containers of goods from the Far Horizon and made no effort to sell them, which result in some light fingered individuals removing them when the Razza was supposedly quarenteened, you didn't even enquire about selling the Hydroponics supplies you still had. They might also have bought the remaining steel and assorted scrap metals.]
During their stay their aslo discuss the availability of other
supplies. The station can supply munitions including Nuclear Missiles.
| Munition | Price | ||
|---|---|---|---|
| Nuclear Missile |
3.3m | ||
| Conventional Missile (HE) |
1.05m | ||
| Conventional Missile (Plasma) | 1.2m | ||
| SRM (HE) |
650k | ||
| Chaff (Passive) per round |
515 | ||
| Chaff (Decoy/Active) per round |
2,650 | ||
| Railgun Flechette per round |
7,200 |
Additionally during the installation of the Transfer Chambers Emily discusses the technology with the installers and learns that Transfer Transit have a patented DNA encoding technique for encoding carbon fibre cloth such that the Clone Chambers will replicate the material at the destination allowing clones to travel 'clothed' [GM Note: we'll ingnore the age appropriate restrictions for actors and actresses appearing an walking around naked and for them to have to find clothes and take the pseudo science narrative line]. The material is expensive, cr70,000 to cr 95,000 per suit, depending on the stature of the individual. The body suits are produced from a body scan blueprint that the Transfer pods can produce from a naked body scan whilst in a pod. These are then uploaded to Transfer Transit who can then produce a suit in a few hours. All this of course means that the pods need to be connected to the Transfer Transit network which isn't possible at Draaddell, which means the Razza needs to go somewhere else first to connect the pods to the network. This is also a requirement for Emily to be able to hack the network using the Pods own auto network connection ability.
With the pods installed and the Shields and power junctions repaired
the Razza departs for Regulus-12, 17ly away, which is the closest
system with a major Transfer Transit hub.Arriving in the vicinity of
the station, the Pods connected and Emily sets about hacking through
the Network Routers, to gain access to the data servers. With access
secured the first thing she does is upload the Clone Blueprints for
herself, Ryo, and Boone to Transfer Transit, and order a body suit for
each of them. She then sets about trying to discern where Aleisha
Reynards HQ is, based on Talbors statement that she only ever travels
by Clone.
Cross correlating all of Aleisha's appearances over the last year
against Transfer Transit stations, and then analysing and cross
referencing the Transfer connection and routing logs she isolates the
source node for all the traffic, which must be Reynards HQ. This
identifies that it is in the Esterauk system, on Esterauk -3 to be
exact, a planetary base rather than a Space Station. The next step is
to by-pass the Router Security protocols and hack her pod directly,
disabling its internal security protocol, such that it still appears to
be a private pod as far is the network is concerned, yet will accept a
direct connection from the pods on the Razza if they are within
5000km. Task accomplished she then indulges in a little subtle
bragging explaining exactly how complicated what she's just done is.
Once the body suits are available, Kiva takes the Marauder, to the station to pick the suits up, before the Razza embarks on the 57ly run to Esterauk. To save on water it is agreed that the crew will go into stasis for the bulk of the transit time.[GM note: Its a 14.25 day transit of which 12 days is spent in stasis. This means that you can may the journey and return without needing to use the reserve tank.]
Arriving in orbit around Esterauk-3 Lisa sets up an orbital trajectory to keep them within 4000km of Reynards HQ. Whilst Emily, Ryo, and Boone make their preparations to use the Transit pods, Varrik, Portia, and Bradic board the Marauder and head down to the planet. If anything goes wrong the away team are to head to the roof of Reynards HQ where the Marauder will attempt to pick them up, assuming that they can get past any air defences the HQ may have. Once planet side Varrick plugs the Marauder into the planetary traffic system allowing them to fly a pattern around the HQ with minimal effort whilst they watch for any sign of activity on the roof.
With no idea what to expect Ryo transits first followed by Boone and lastly Emily. They find themselves in rather a plush office.

Boone is completely paranoid about them being discovered, although Ryo has the door covered. When Emily arrives they want to know what next. Emily says she just needs a computer terminal, much like the one in the office. Whilst Ryo stands by the door, Boone paces backwards and forwards, as Emiliy hacks into Reynards servers to look for anything relating to the key and what it does. After about 15 minutes she lets out an exclamation of excitement, "Wow! This is so cool."
When Boone asks what she explains that she has found out what the
key does, it's part of some sort of wormhole drive [GM Note: Its
actually the activation key for the drive, without it the drive doesn't
work.]. Boone doesn't understand until Emily explains it. With a
conventional FTL drive, you have to traverse space-time, which is why
it takes time to travel between systems. With a wormhole drive you can
instantaneously travel from point A to point B, the drive sort of
creates a traversable hole in Space time so the ship just moves through
the hole. According to the specifications in the files the drive is
designed to interface to standard FTL drives, and its here in the
building, well 3 floors up in a vault room. [GM note: there is a mass
meta speculation at this point primarily led by Matt. Given the
characters would have had this discussion when they all got back to the
Razza I let it play out at this point.]
Following 'Narrative Imperative' they make their way up three floor
encountering a team of two scientists and one guard along the way. Ryo
quickly dispatches the guard, whilst Boone makes slightly heavier work
of one of the scientists. The other one makes a break for it running
back past Emily who steps out from where she's hidden to trip him up,
hurting her shoulder in the process. Ryo arrives to dispatch the
scientist. They drag the unconscious forms into a room, remove their
uniforms, and tie them up. With Ryo now assuming the role of the Guard
they make thier way to the vault room. Given where they are the vault
room door only has a simple lock which Emily opens without problems.
Entering the room, the drive unit, about the same size as a 1U wide
3U high 19" rack unit is sitting on a plinth in the middle of the
floor. Emily correctly guesses, then confirms that there must be some
form of pressure/proximity detector under the unit. In addition the
security system is backed by an AI which Emily fails to defeat. In for
a penny in for a pound she grabs the unit and its flight case which
have a combined weight of 38lbs (the drive is 30lbs its
protective case is 8lbs). As she does so the secutiry AI says
"Authorization Code". Boone says what Authorization code, at which
point the building intruder alarms go off.
They decide to try and get to the roof but get cut off by the arrival of the building guards. Ryo and Boone opt to hold the guards off whilst Emily makes her escape with the drive unit. Flipping the single stunner between them they do their best to try and hold off the guards, but the guards are also firing stunners and attempting to be careful. Boone turns to look to se where Emily is but she's vanished, at he turns back a second set of guards arrive and both sets rush the pair of them stunning them unconscious. Meanwhile Emily has found her favourite escape route, the building's ventilation shaft.

Boone and Ryo come round to find themselves securely handcuffed to each other and restrained back to back in a couple of chairs in one of Reynards Offices. Boone goes off on a complete tirade of verbal diorhea which does nothing to impress Reynard, it simply means that her explanation of their current predicament and that they are not immune from her torturing and killing their real bodies gets drowned out. In the end she simply says "I shall ensure that you die first."
She then brings in her Torturer. His job is to get them to reveal where Emily, the drive, and the Razza are. This just sets Boone off again triggering Reyanrd and her assistant to leave. Elsewhere, being the resouceful person she is, Emily has managed to retrieve a stunner from one of the guards that Ryo and Boone managed to down before they succumbed. She now faces the choice of taking the drive to the roof or attempting, at the GM prompt, to rescue Ryo and Boone. Given the GM prompt she opts to try and save Ryo and Boone, arriving just as the torturer is about to start pummling Boone. She stuns him unconscious then sets about looking for a way to release Boone and Ryo. Faced with a lack of time, and a pressing need to be out of there, and no viable means to release the pair, she opts instead to use the totrurers pistol and shoots both of them in the head, terminating the clone transfer.
Having resolved the Ryo/Boone situation she makes her way to the
roof collecting the Drive from where she stashed it enroute.
Keeping watch, Varrick and Portia spot Emiliy's emergence onto the roof. Varrick unlocks the Marauder from the Traffic System, whilst Portia deploys the Marauders Pulse Cannons to hopefully take out the air defences. Varrick comes in low between two other buildings, enabling the Marauder to disable three of the defence cannons and thus attempt a touchdown on the roof. As the Marauder comes in and swings the stern airlock over the roof, Emily makes a run towards it. Throwing the Drive into the interior, Bradic helps haul her onboard, as Varrick makes a hasty exit.
As the Marauder departs the roof they receive a transmission from
the Razza. The Razza has been discovered by Reynards cruiser and has
come under fire. The shields are currently holding and Lisa is doing
what she can to minimise the impact, primarily by hiding the Razza
under the cruiser where the Cruiser has difficulty targeting the Razza.
This buys enough time for the Marauder to get close enough to dock.
Lisa then diverts all shield power to the upper cannons and pulse discharge arrays, which she fires point blank into the cruisers port weapons array, temporarily taking it off line. With the Razza's shields down the Marauder can dock. As soon as the Marauder is secure, then she jumps to FTL for the return trip to Regulus-12 [GM Note - sort of narrative reasons, but you do need somewhere 'convenient' to drop Calcheck off now that you have the Drive.
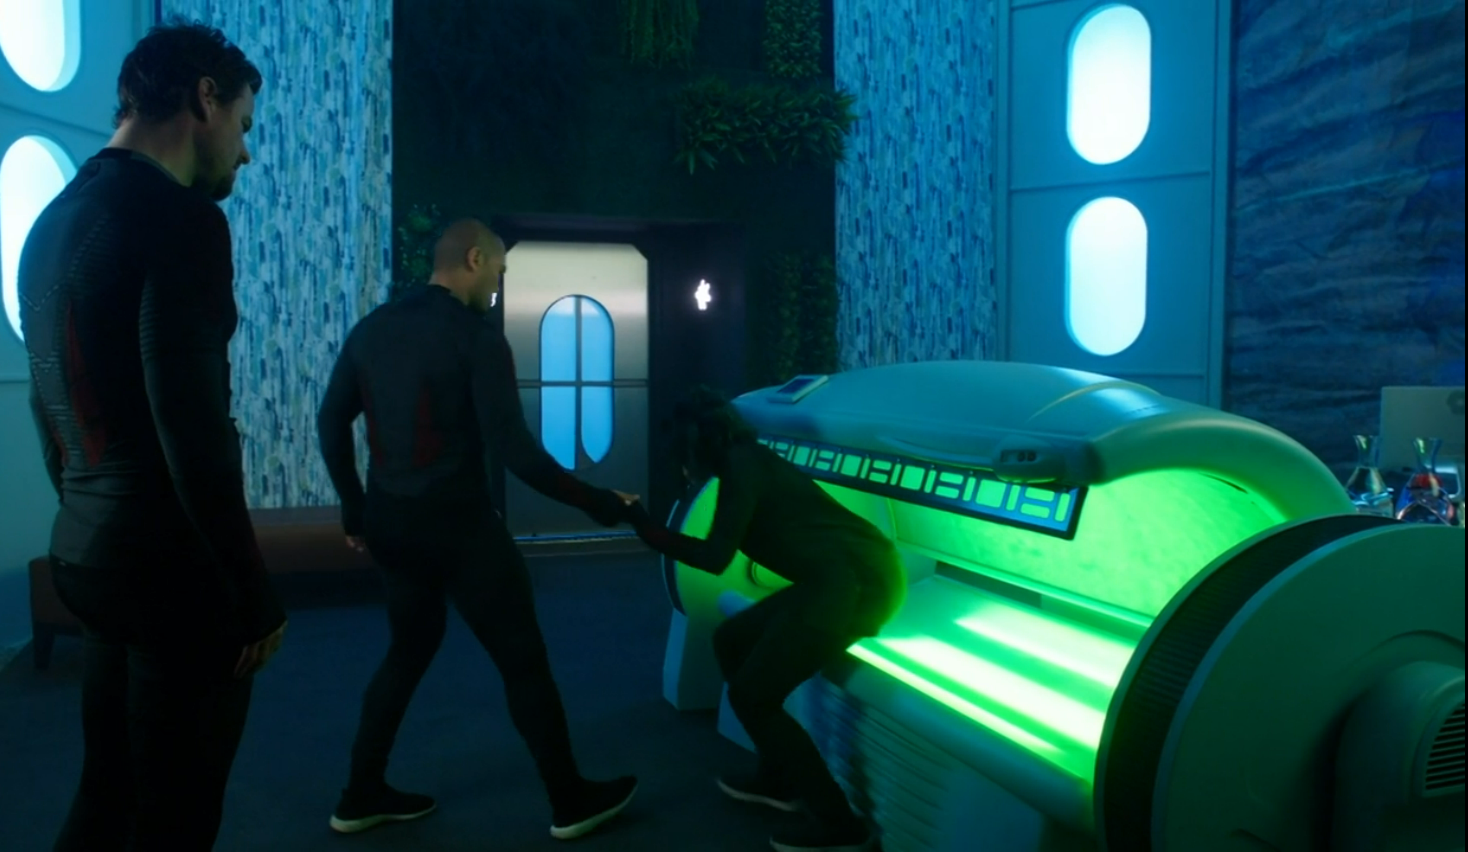
Emily then makes her way to the Transit Room, where she enters one
of the vacant Transfer Chambers. There is a brief delay before she
emerges from the chamber where her real body still is. The first
thing she notices is that her shoulder no longer hurts. There is then a
debrief in respect of the Drive and it's theoretical capabilities. Lisa
is completely unfamiliar with the technology, so it might take a few
days whilst she familiarises herself with it before she and Emily can
make an attempt to install it. [GM Note: Technically Lisa will have
installed/interfaced the Drive by the time you return to Regulus-12.
More on this on Tuesday.]
House Keeping - Dates and Fuel
| Event | Date | FTL Jump Distance | Fuel | Fuel Remaining | Water Remaining | ||
|---|---|---|---|---|---|---|---|
| Arrive Draaddell | 2673.007.17 | N/A | N/A | 1,099,770 | ** 14,485(26,000) ** |
||
| Depart Draaddell for Regulus-12 |
2673.011.05 | 17ly | 34,000l | 1,376,000 | 52,000(26,000) | ||
| Arrive Regulus-12 | 2673.015.10 | N/A | N/A | 1,342,000 | 45,270(26,000) | ||
| Depart Regulus-12 for Esterauk-3 |
2673.015.18 | 57ly | 114,000l | 1,342,000 | 38,518(26,000) | ||
| Arrive Esterauk-3 |
2673.030.03 | N/A | N/A | 1,228,000 | 26,274(26,000)# | ||
| Shield Recharge during combat |
2673.030.05 | N/A | 19,680l | 1,208,320 | 26,274(26,000) | ||
| Depart Esterauk for Regulus-12 | 2673.030.07 | 57ly | 114,000l | 1,208,320 | 26,274(26,000) | ||
| Arrive Regulus-12 | 2673.044.12 | N/A | N/A | 1,094,320 | ** 8,153(26,000)# ** |
#12 days stasis for crew to reduce water consumption (also reduces
food consumption)
Incidental Expenses (Bribes/Inducements/Payoffs) : cr5,700
Shield Repairs: cr371,000
Fuel: 276,230 * 0.9 = cr248,607
Water: 42,741 * 0.51 = cr21,798
Docking Fees: cr10,250
Cash at hand: cr2,655,975
| Back | ||||
|---|---|---|---|---|
| Session Index | Dark Matter |